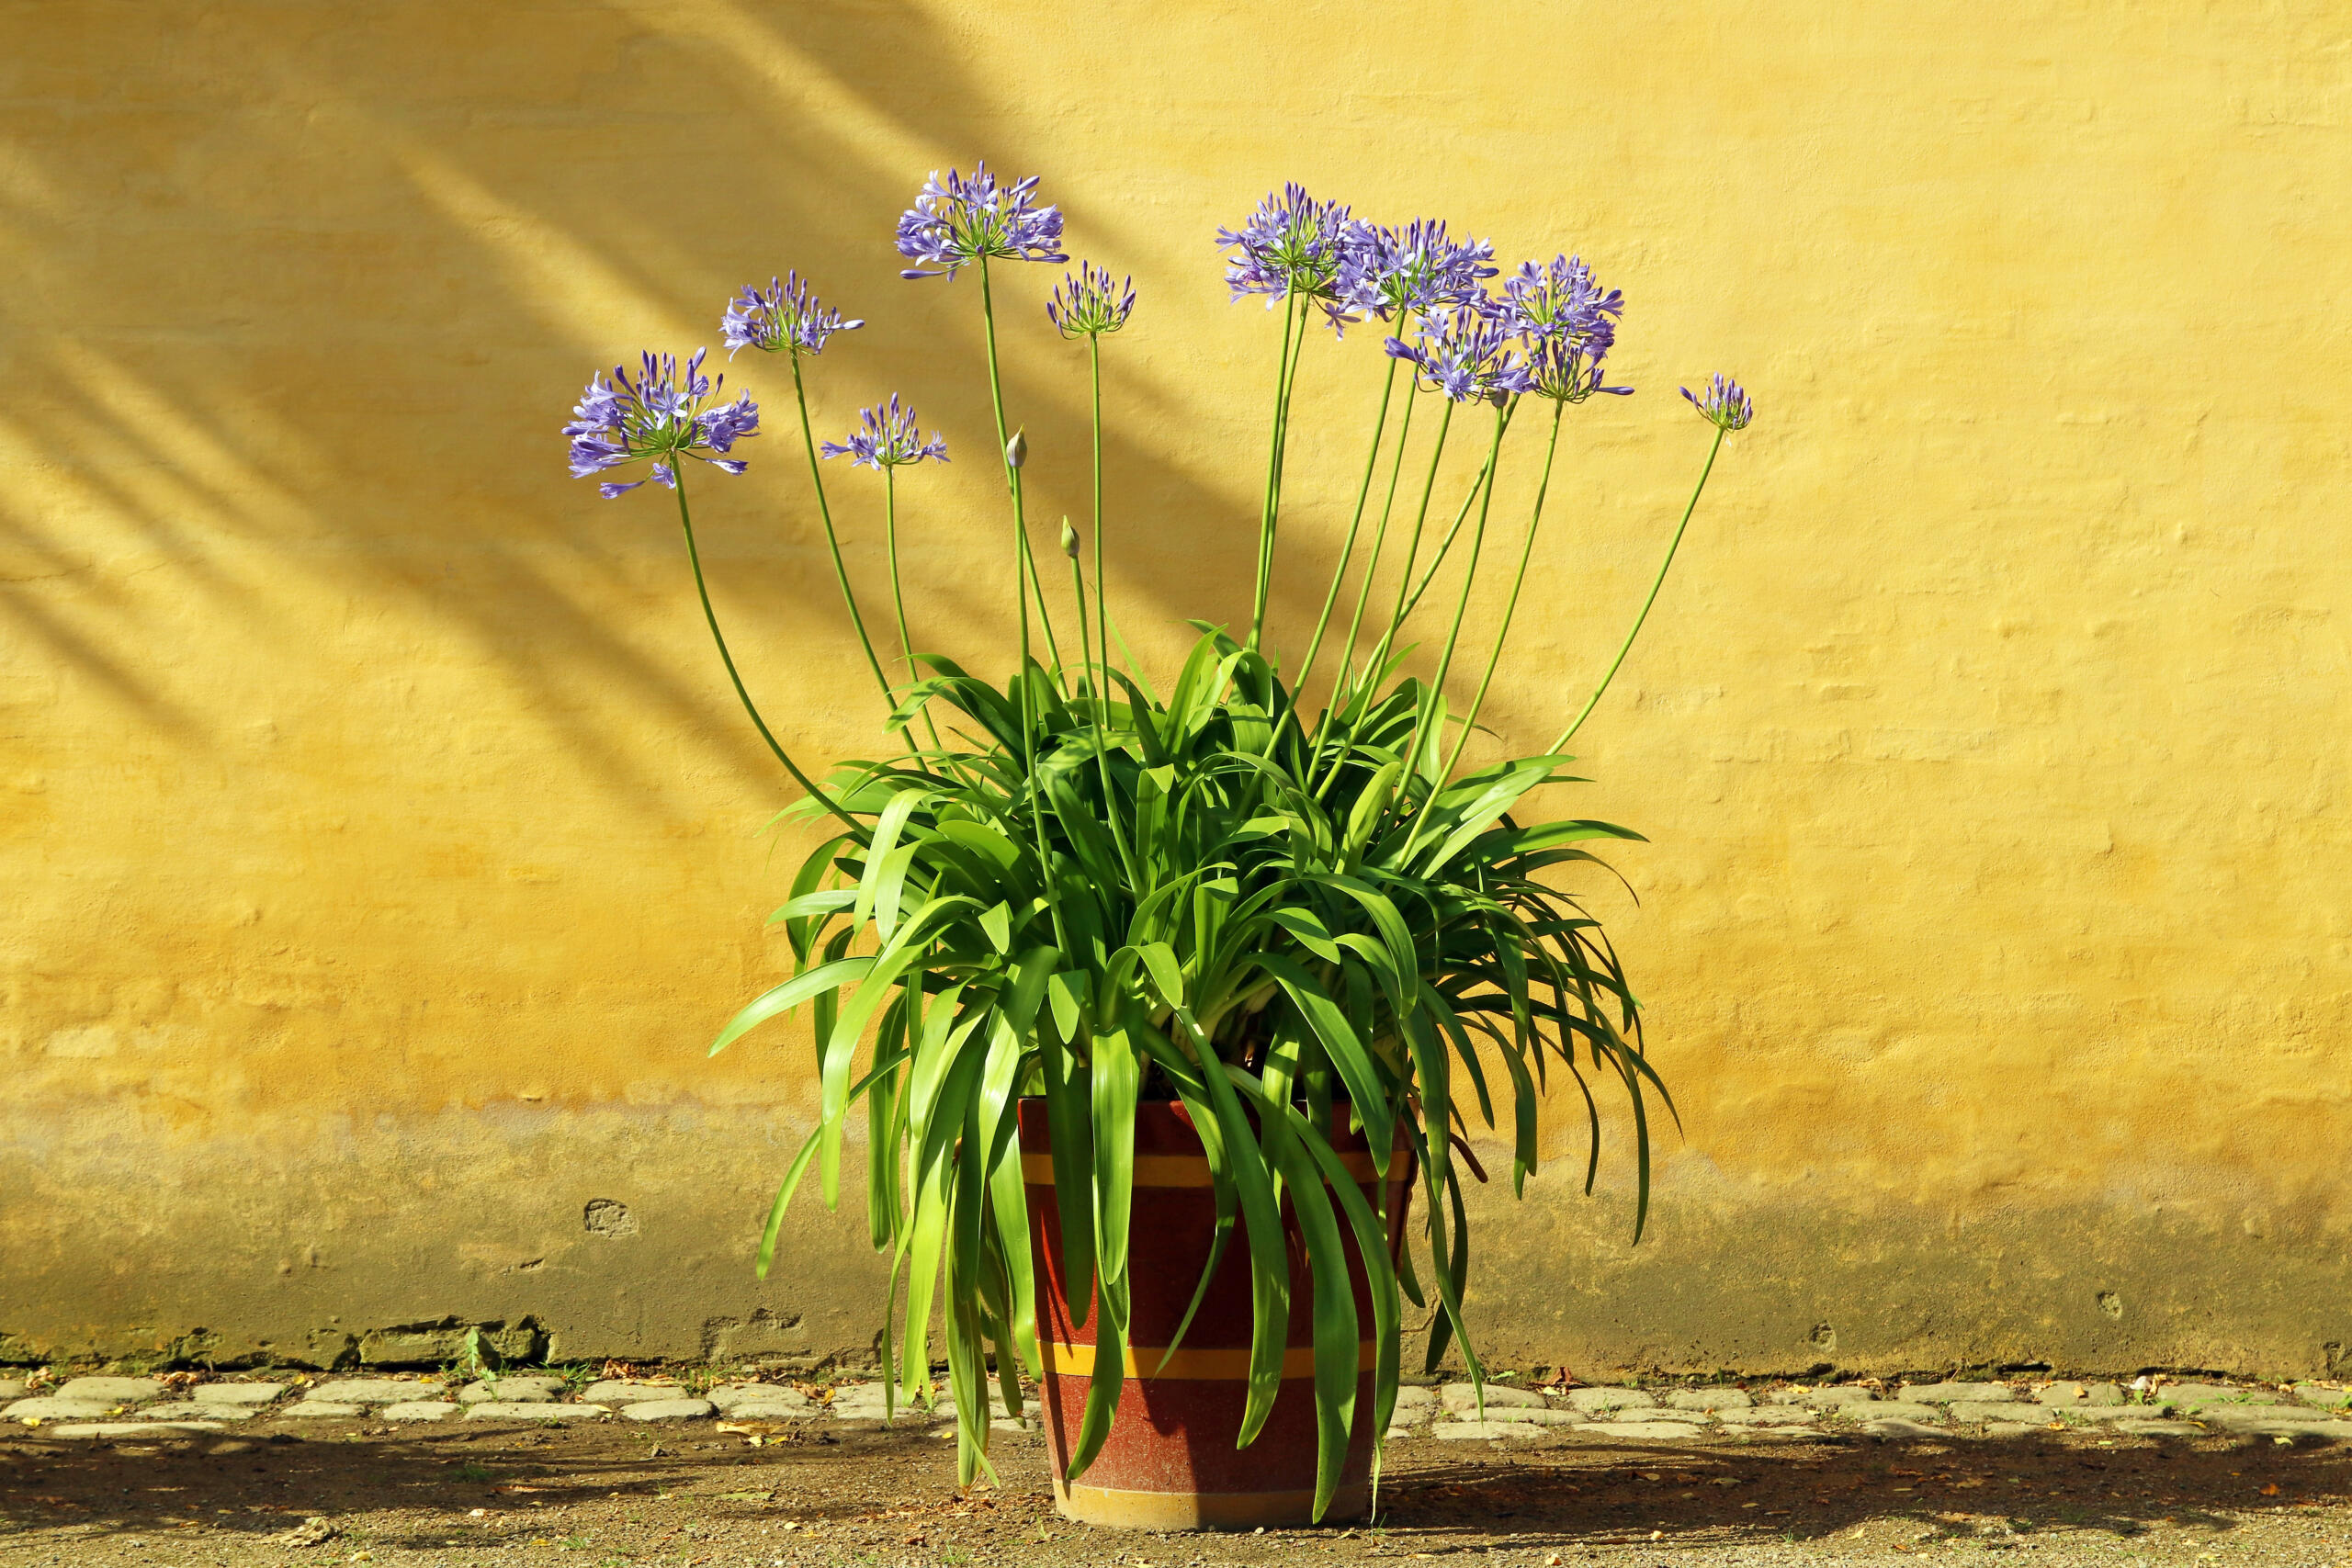
When the sun finally shines outside again, energy levels rise noticeably. Plants feel the same way as people. Even plants in dark winter quarters realise exactly when spring is just around the corner and prepare for the outdoor season. Create good starting conditions and repot mediterranean garden plants now to benefit in the long term. The Quality Association for Substrates for Plants recommends checking timely which of you plants need a larger pot and fresh potting soil.
When to repot mediterranean garden plants
Repot every two years – in a pot that is two to three centimetres larger in diameter than the old planter. A new pot is always urgently needed if the plant roots are already forming a dense network on the outside of the pot base or if the plastic pot is already visibly stretching outwards due to root pressure. Older plants, which grow more slowly, may well be left in the same pot for three to four years. However, if the potting soil does not have a nice crumb structure or the soil surface is encrusted with lime deposits, it is time for a spring clean.
A larger pot with a fresh substrate not only offers the plant roots more space and a secure hold. It also improves the water retention capacity and the storage capacity for nutrients (if it is a high-quality potting soil). We advise consumers to use products with the RAL quality mark. Only high-quality raw materials are used for RAL quality-assured substrates. These ensure optimum plant compatibility and structural stability. They are subject to close quality control by independent laboratories, may only have minimal deviations in nutrient content and must be free from weed seeds and plant-damaging substances. In this way, optimum growing conditions are guaranteed and you can look forward to vital plants. You can find a list of manufactures of products with the RAL quality mark Substrate for plants here.
How to repot mediterranean garden plants
- Water the plant the day before repotting.
- For balcony and patio plants, a layer of gravel or expanded clay at the bottom of the pot ensures good water drainage even during prolonged rain.
- Cover the bottom of the new pot with the potting soil and place the old pot in it as a trial. The layer of soil should later end one to two centimetres below the edge of the pot.
- Carefully squeeze the root ball and plastic pot a few times all round with your hands.
- Lift the root ball out of the old pot. If present, remove the fine root network at the bottom of the pot. If thicker roots protrude, carefully cut open the old plastic pot.
- Loosen the root ball by gently pressing it together. Remove dried or rotten root parts.
- Place the root ball in the centre of the new pot, then align it straight and fill it with fresh substrate all around. The root ball should sit just as deep in the soil as before.
- Press down all round and water thoroughly – done.
Extra tip for large potted plants
If the plant is to remain in the same container, simply remove some soil from the root ball all round. If this is not possible due to heavy rooting, use a sharp knife to cut one or two “pie slices” out of the root ball. However, do not cut too far into the centre so that the main roots are not damaged.


