Why spend money on vegetable seedlings when sowing vegetables is a favourable alternative? Lettuce, kohlrabi and co. can be easily grown on a bright windowsill.
First of all, you need high-quality sowing soil for successful sowing vegetables. Retailers usually offer a large selection of different products, but the quality of which is difficult to recognise from the outside. Our product database offers a decision-making aid. Under “Potting soil” you will find numerous manufacturers of hobby soils with RAL quality marks. Manufacturers with one or more quality-assured potting soils often also offer correspondingly high-quality sowing soils (even if these have not undergone their own quality assurance).
The difference between sowing soil and potting soil
In contrast to potting soils, sowing soils are not pre-fertilised. The lack of nutrients forces the young plants to develop strong roots as they hunt for the few nutrients they contain. In addition, high-quality sowing soils are characterised by good water and air permeability and ideally freedom from germs (fungal spores, weed seeds). All of this provides the young vegetables with the best starting conditions.
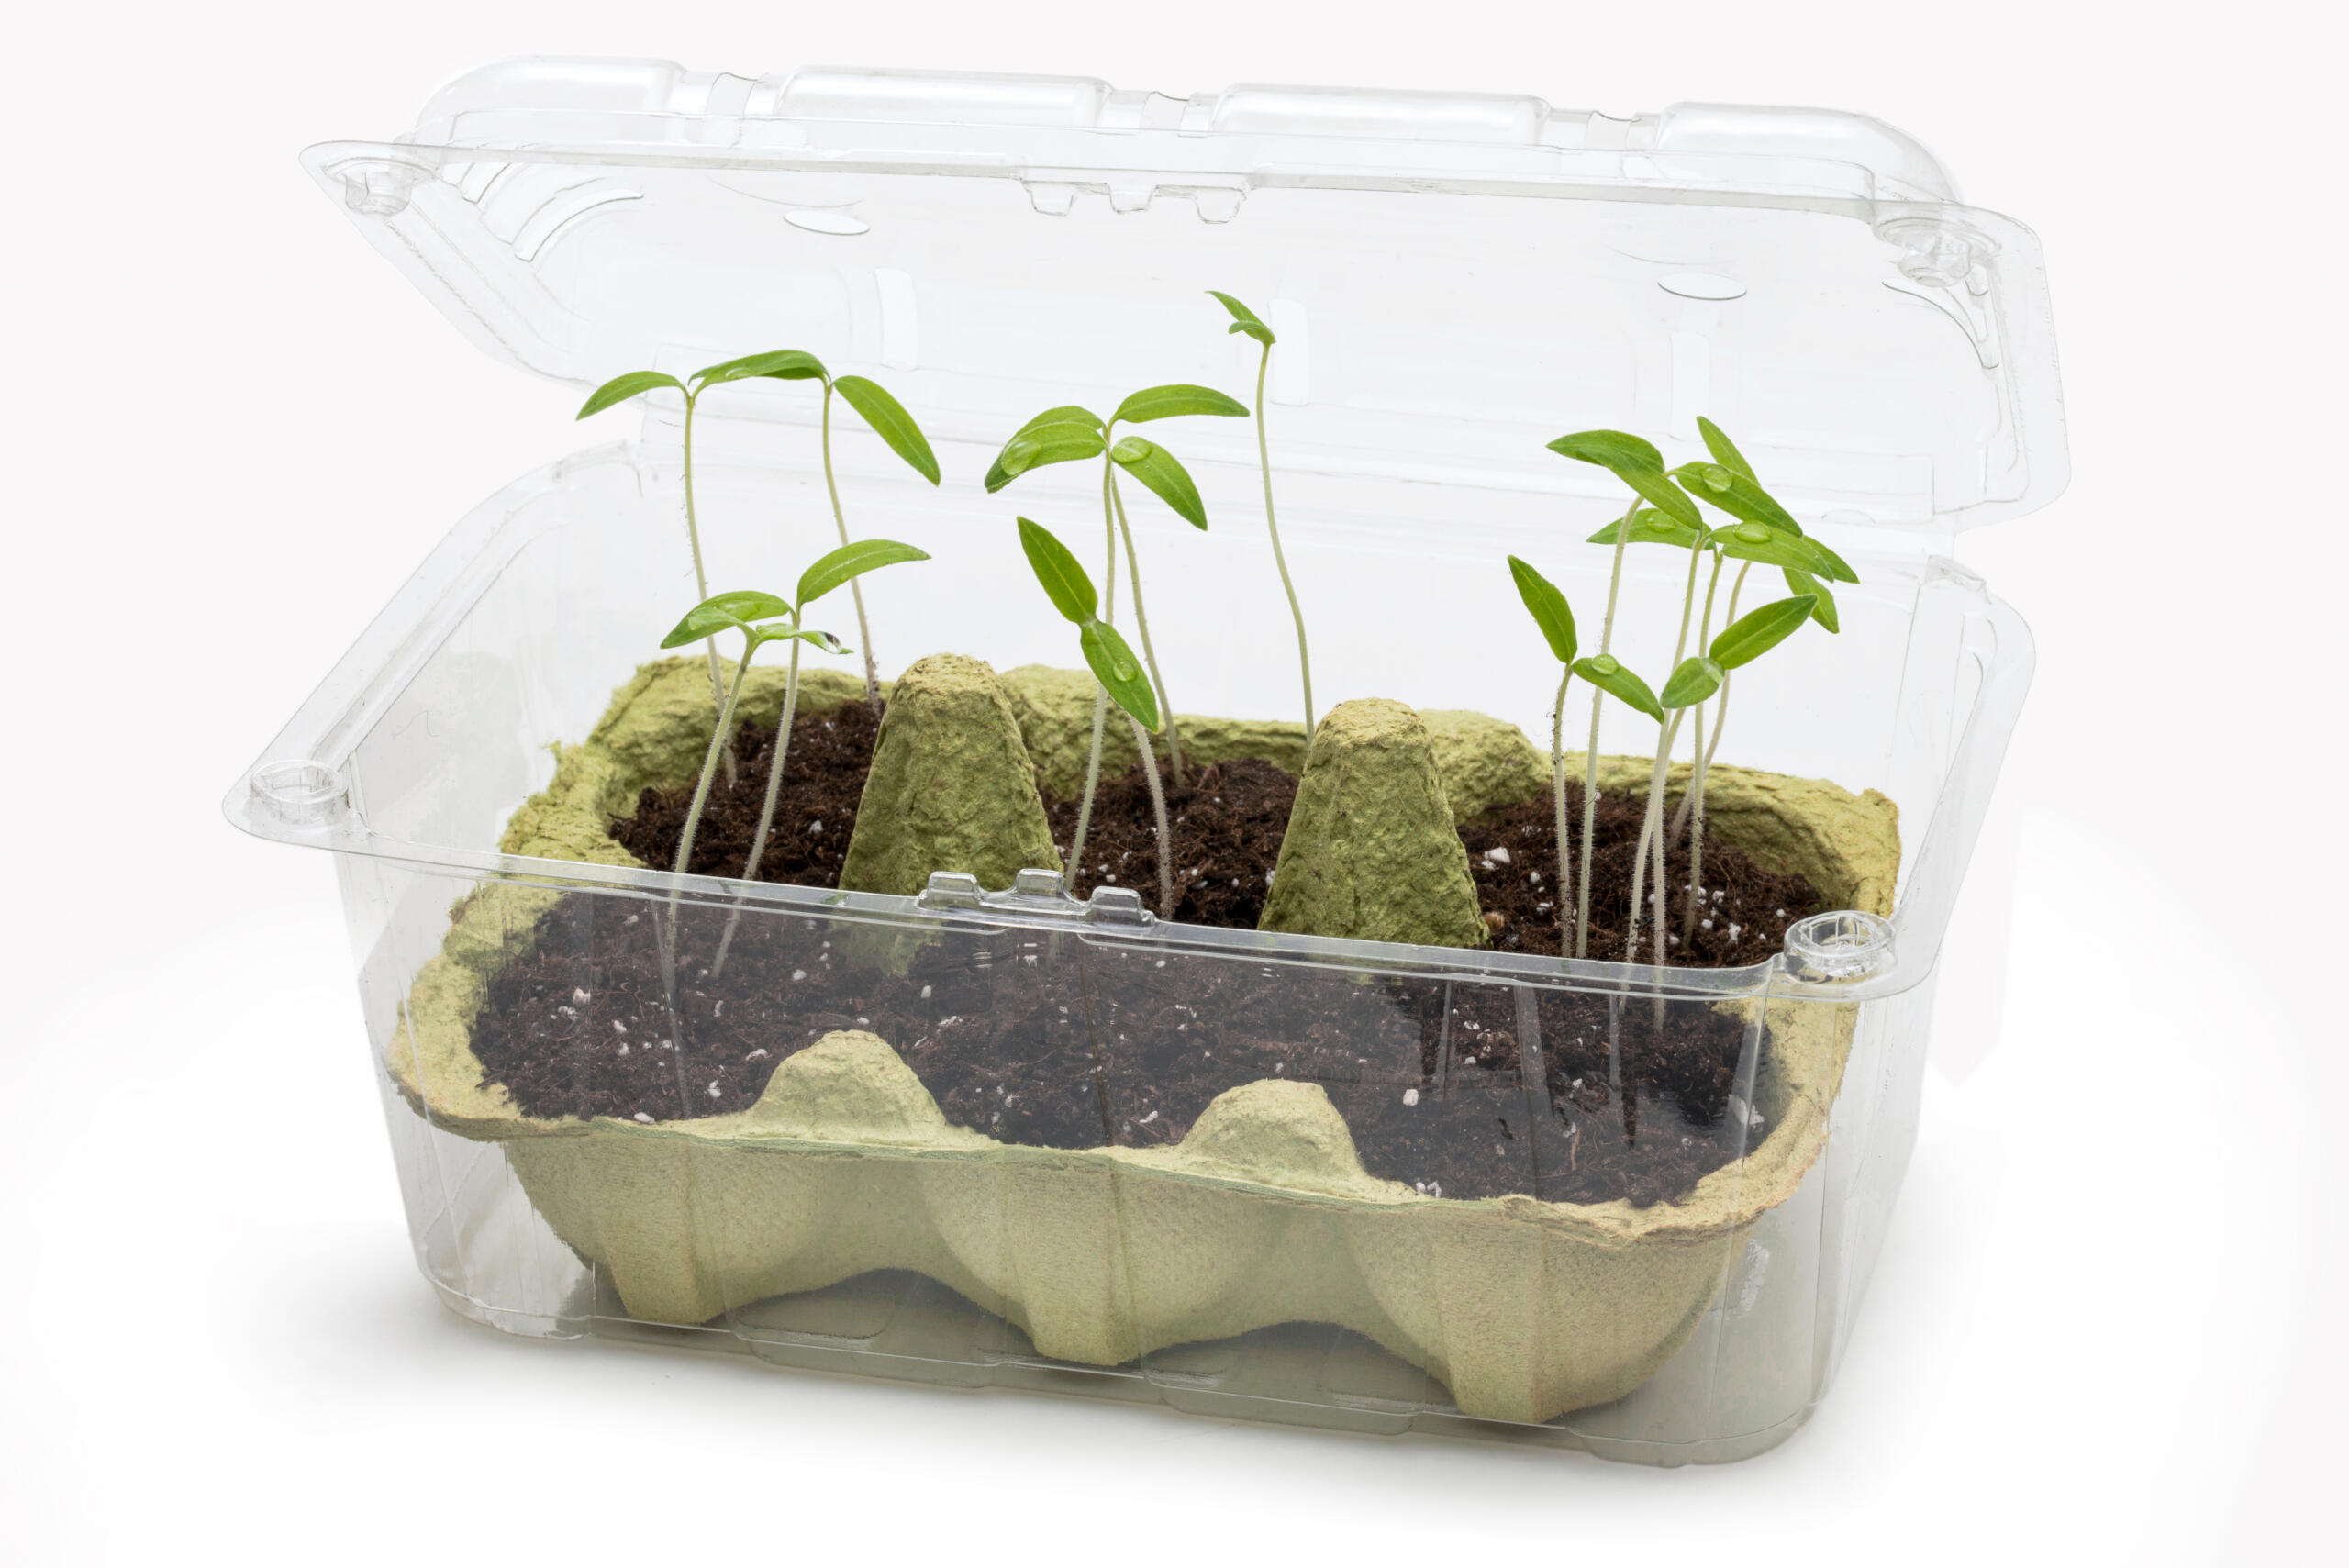
The other accessories for growing your own vegetables are quickly listed. You will need suitable sowing containers, foil to cover them and, of course, the seeds of your favourite vegetables. Retailers offer a good selection here too, from simple plastic trays and mini greenhouses to cellulose fibre seed pots. Of course you can also use your own upcycling solutions.
Step by step: Sowing vegetables yourself
- Firstly, fill the chosen sowing containers with sowing soil.
- Spread the seeds evenly over the soil.
- Now press the seeds down lightly or cover them with soil.
Tip: Some types of vegetables need light to germinate and are therefore not covered at all or only covered with a very thin layer of soil. Follow the corresponding instructions on the seed packet. - Water carefully so that the seeds are not washed away. The use of a pump sprayer or a watering can with a fine spray has proved effective for this.
- Do not allow the substrate and seeds to dry out over the next few weeks.
Tip: Transparent film stretched over the sowing containers or a miniature greenhouse reduce evaporation – you need to water less often. However, you should “ventilate” briefly every day to prevent possible mould.
What happens next with the young plants?
Once the first “real” leaves have formed after the cotyledons, the young plants are moved to larger containers with quality-assured potting soil (see next article) or a special vegetable soil. High-quality substrates are pre-fertilised and thus provide the young plants with an optimum supply of nutrients. After around 4-6 weeks, however, these nutrients are used up. Regular fertilisation is necessary to ensure that the vegetable plants do not start to fade. With liquid fertilisers, depending on the crop and the product selected, this means that you need to add the fertiliser again every 1-2 weeks. Slow-release fertilisers, as the name suggests, decompose over a longer time. For more detailed information on the use of fertilisers, please refer to the manufacturer’s instructions on the packaging and read our article about fertilising plants.


